Guide
Detail Product Photography
A practical guide to detail product photography, including what to shoot, how to prioritize details, and how to review close-up product images.
- Guides
- Product Photography

Examples
Scenes from the Riverflow library
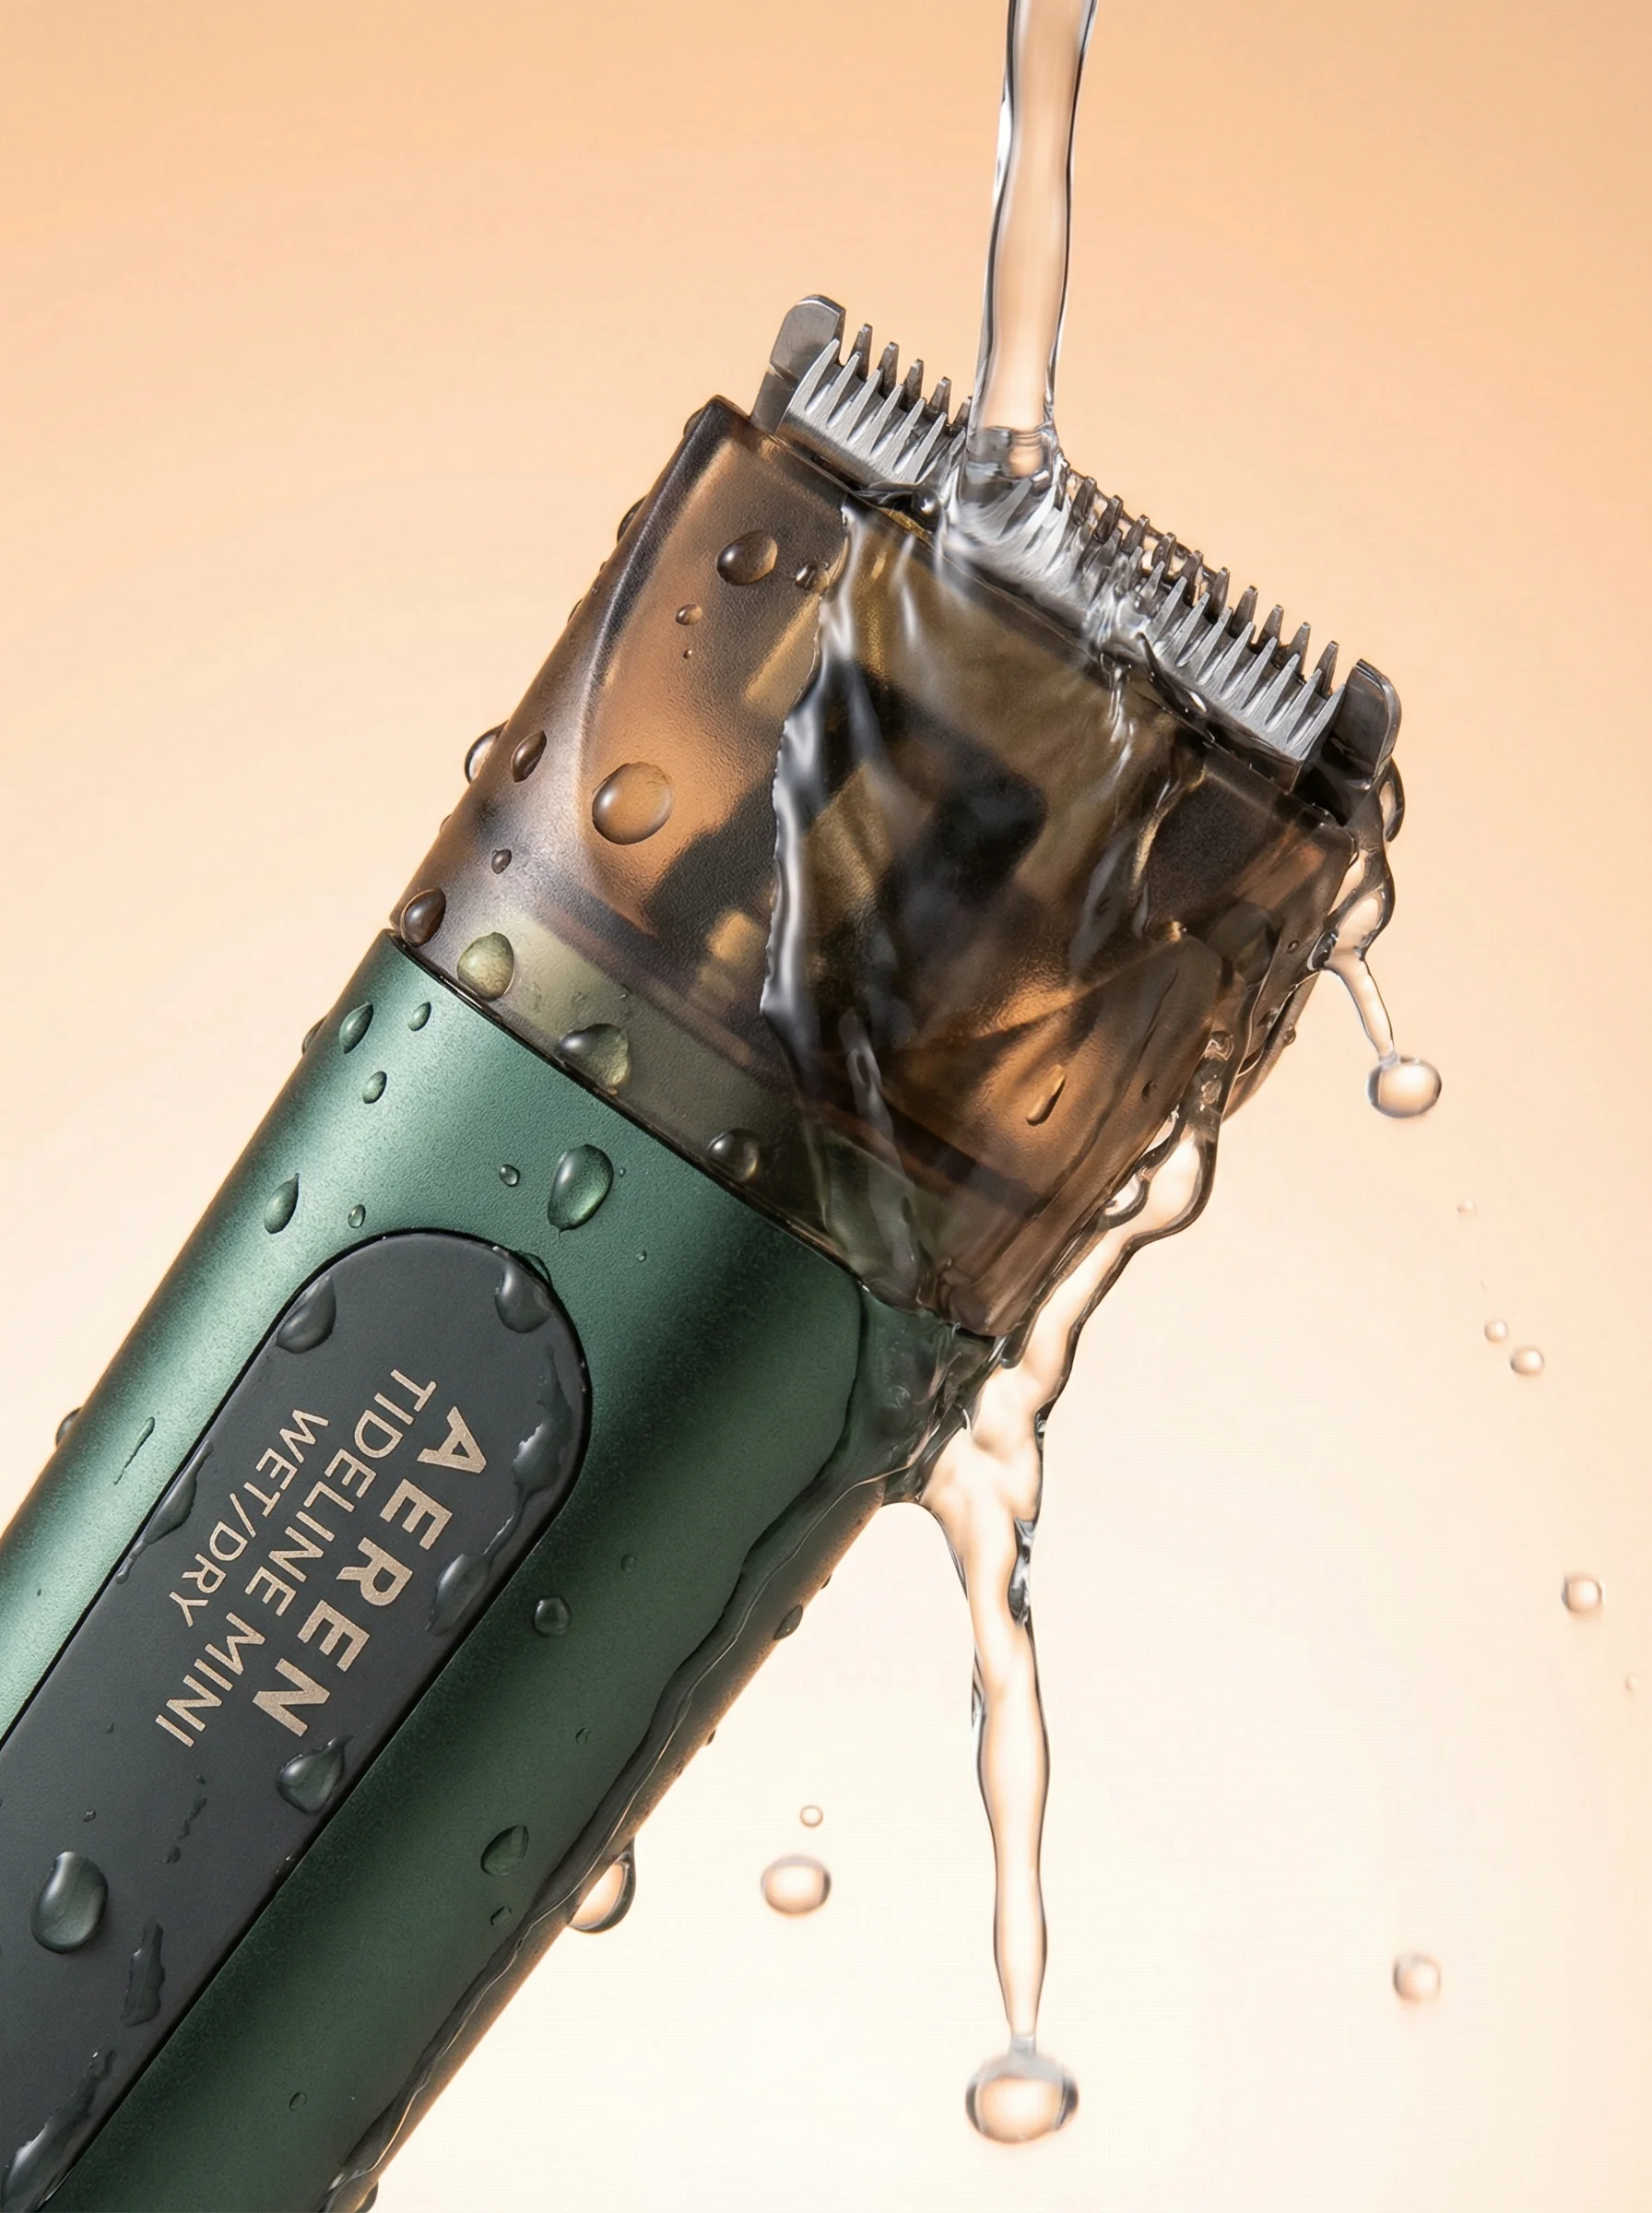
Tight wet close-up isolates the trimmer head, water stream, and glossy surface detail.
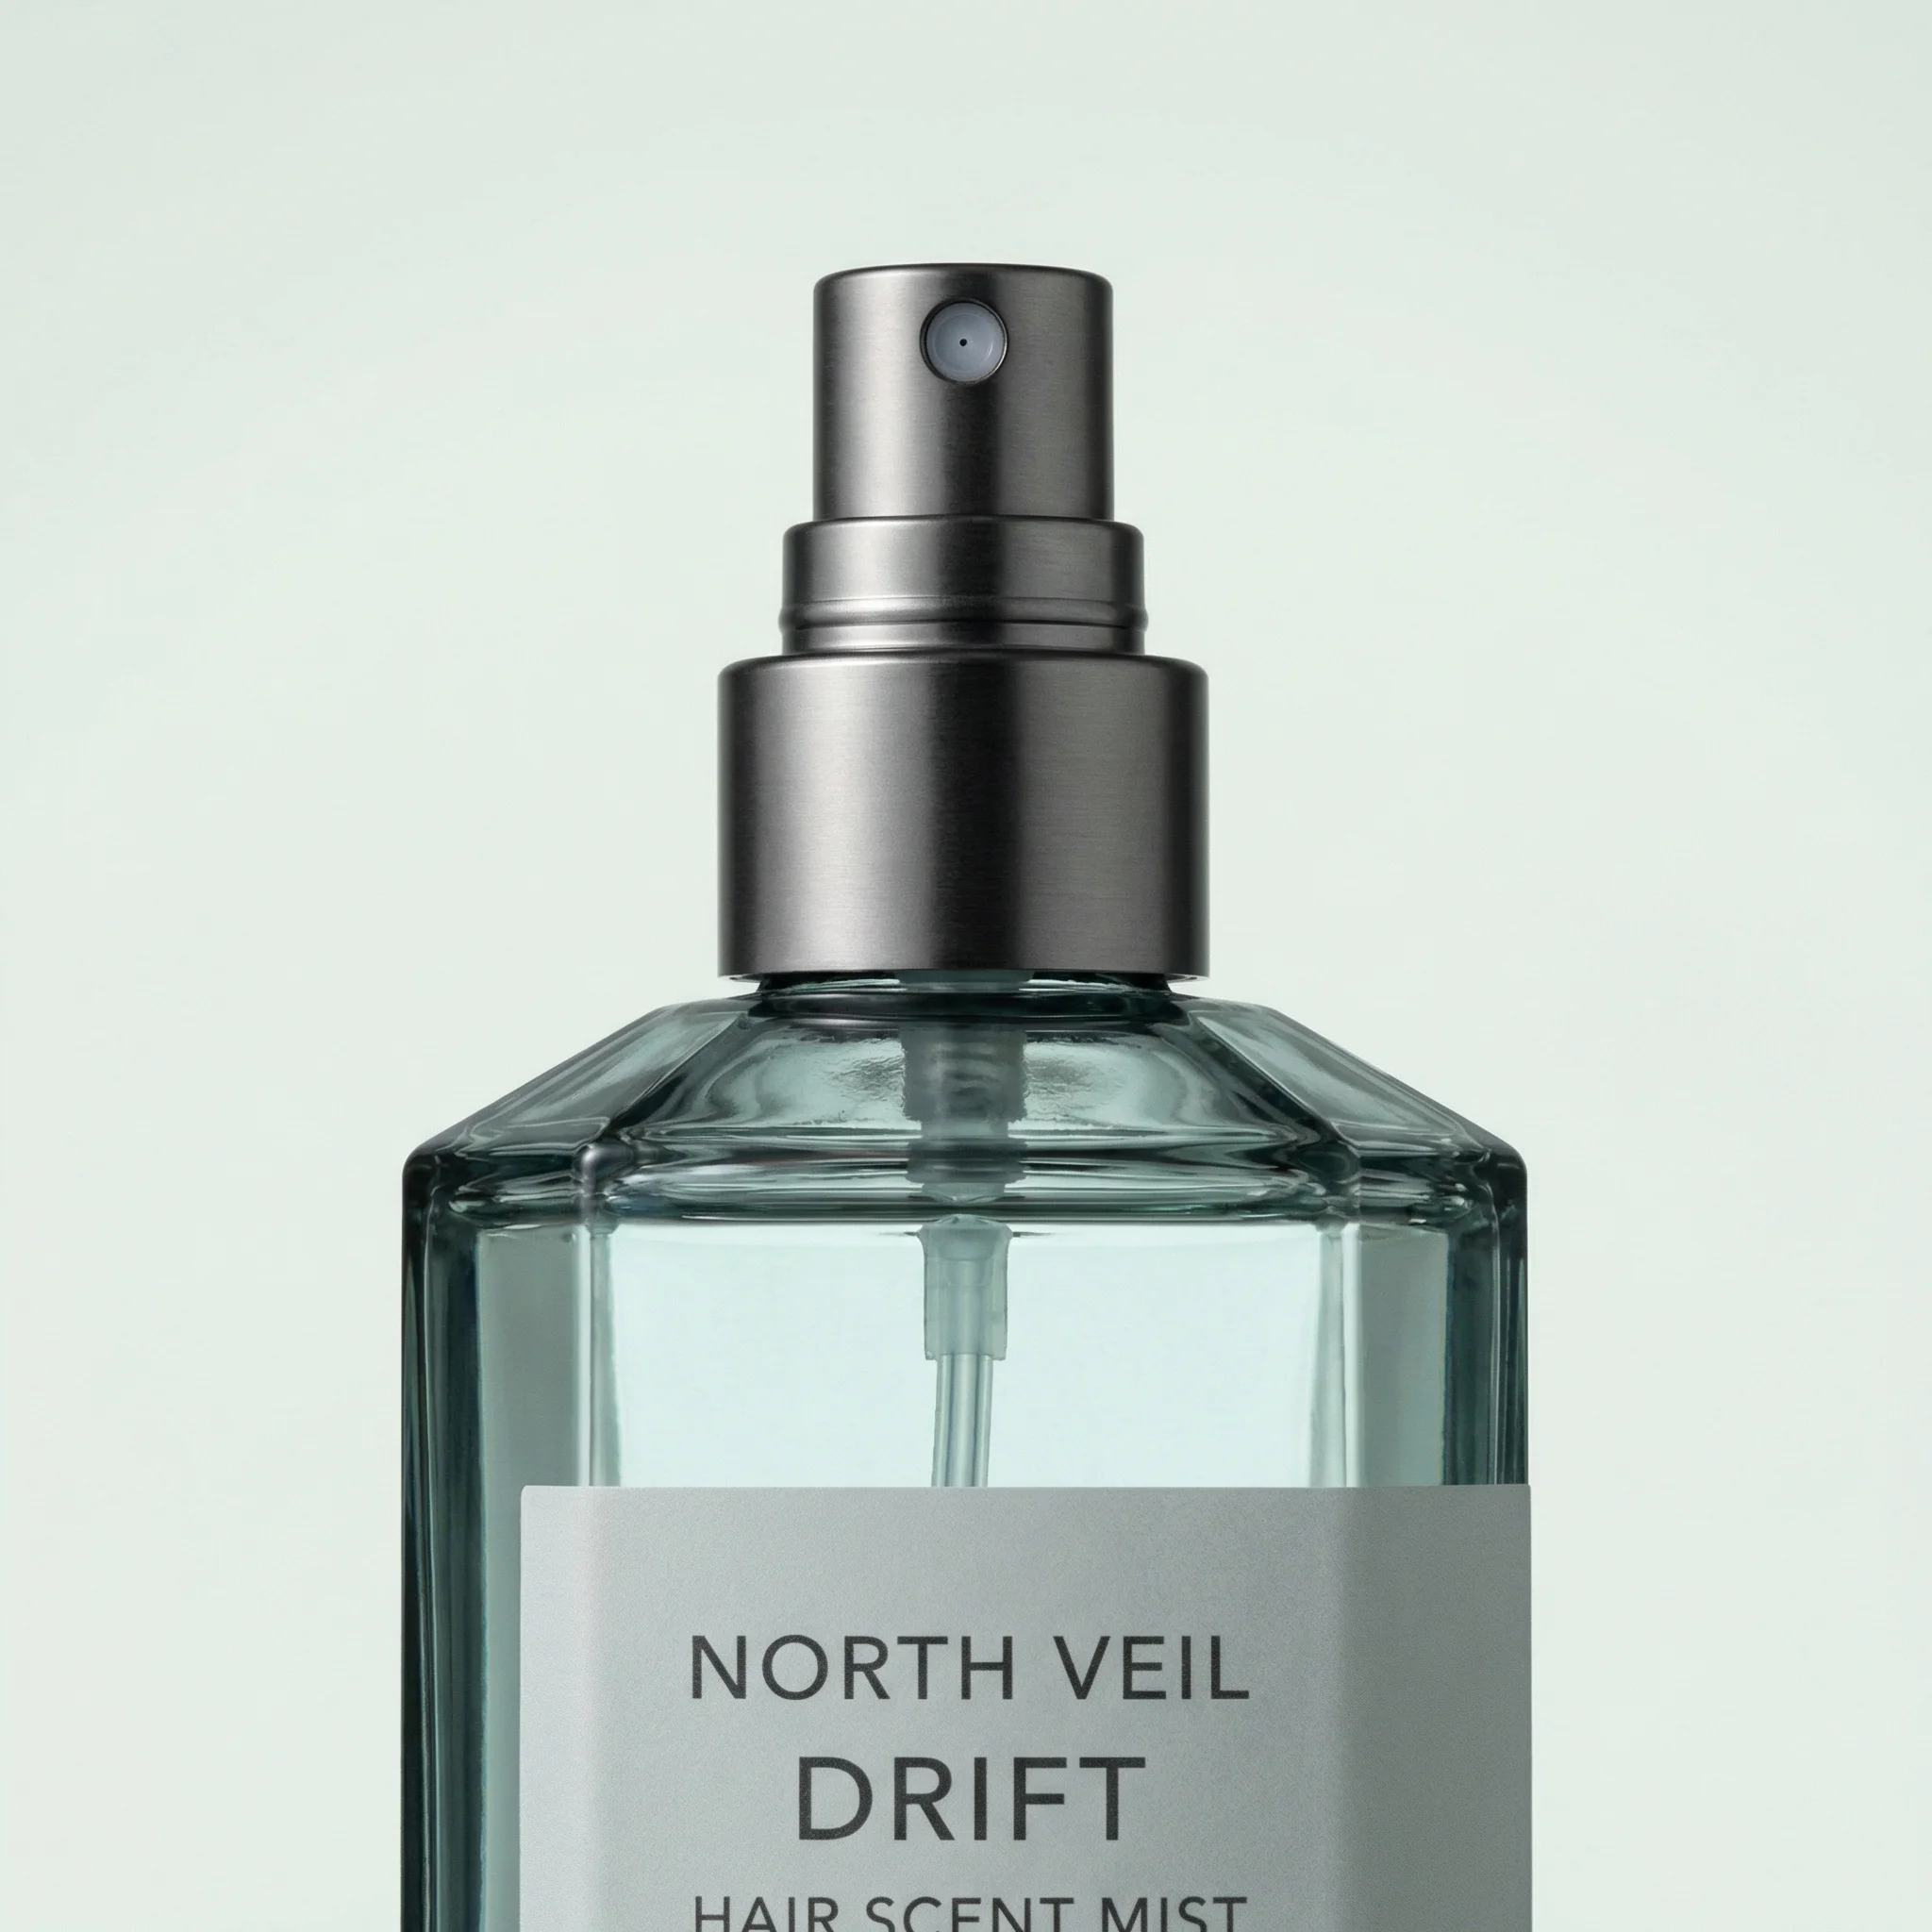
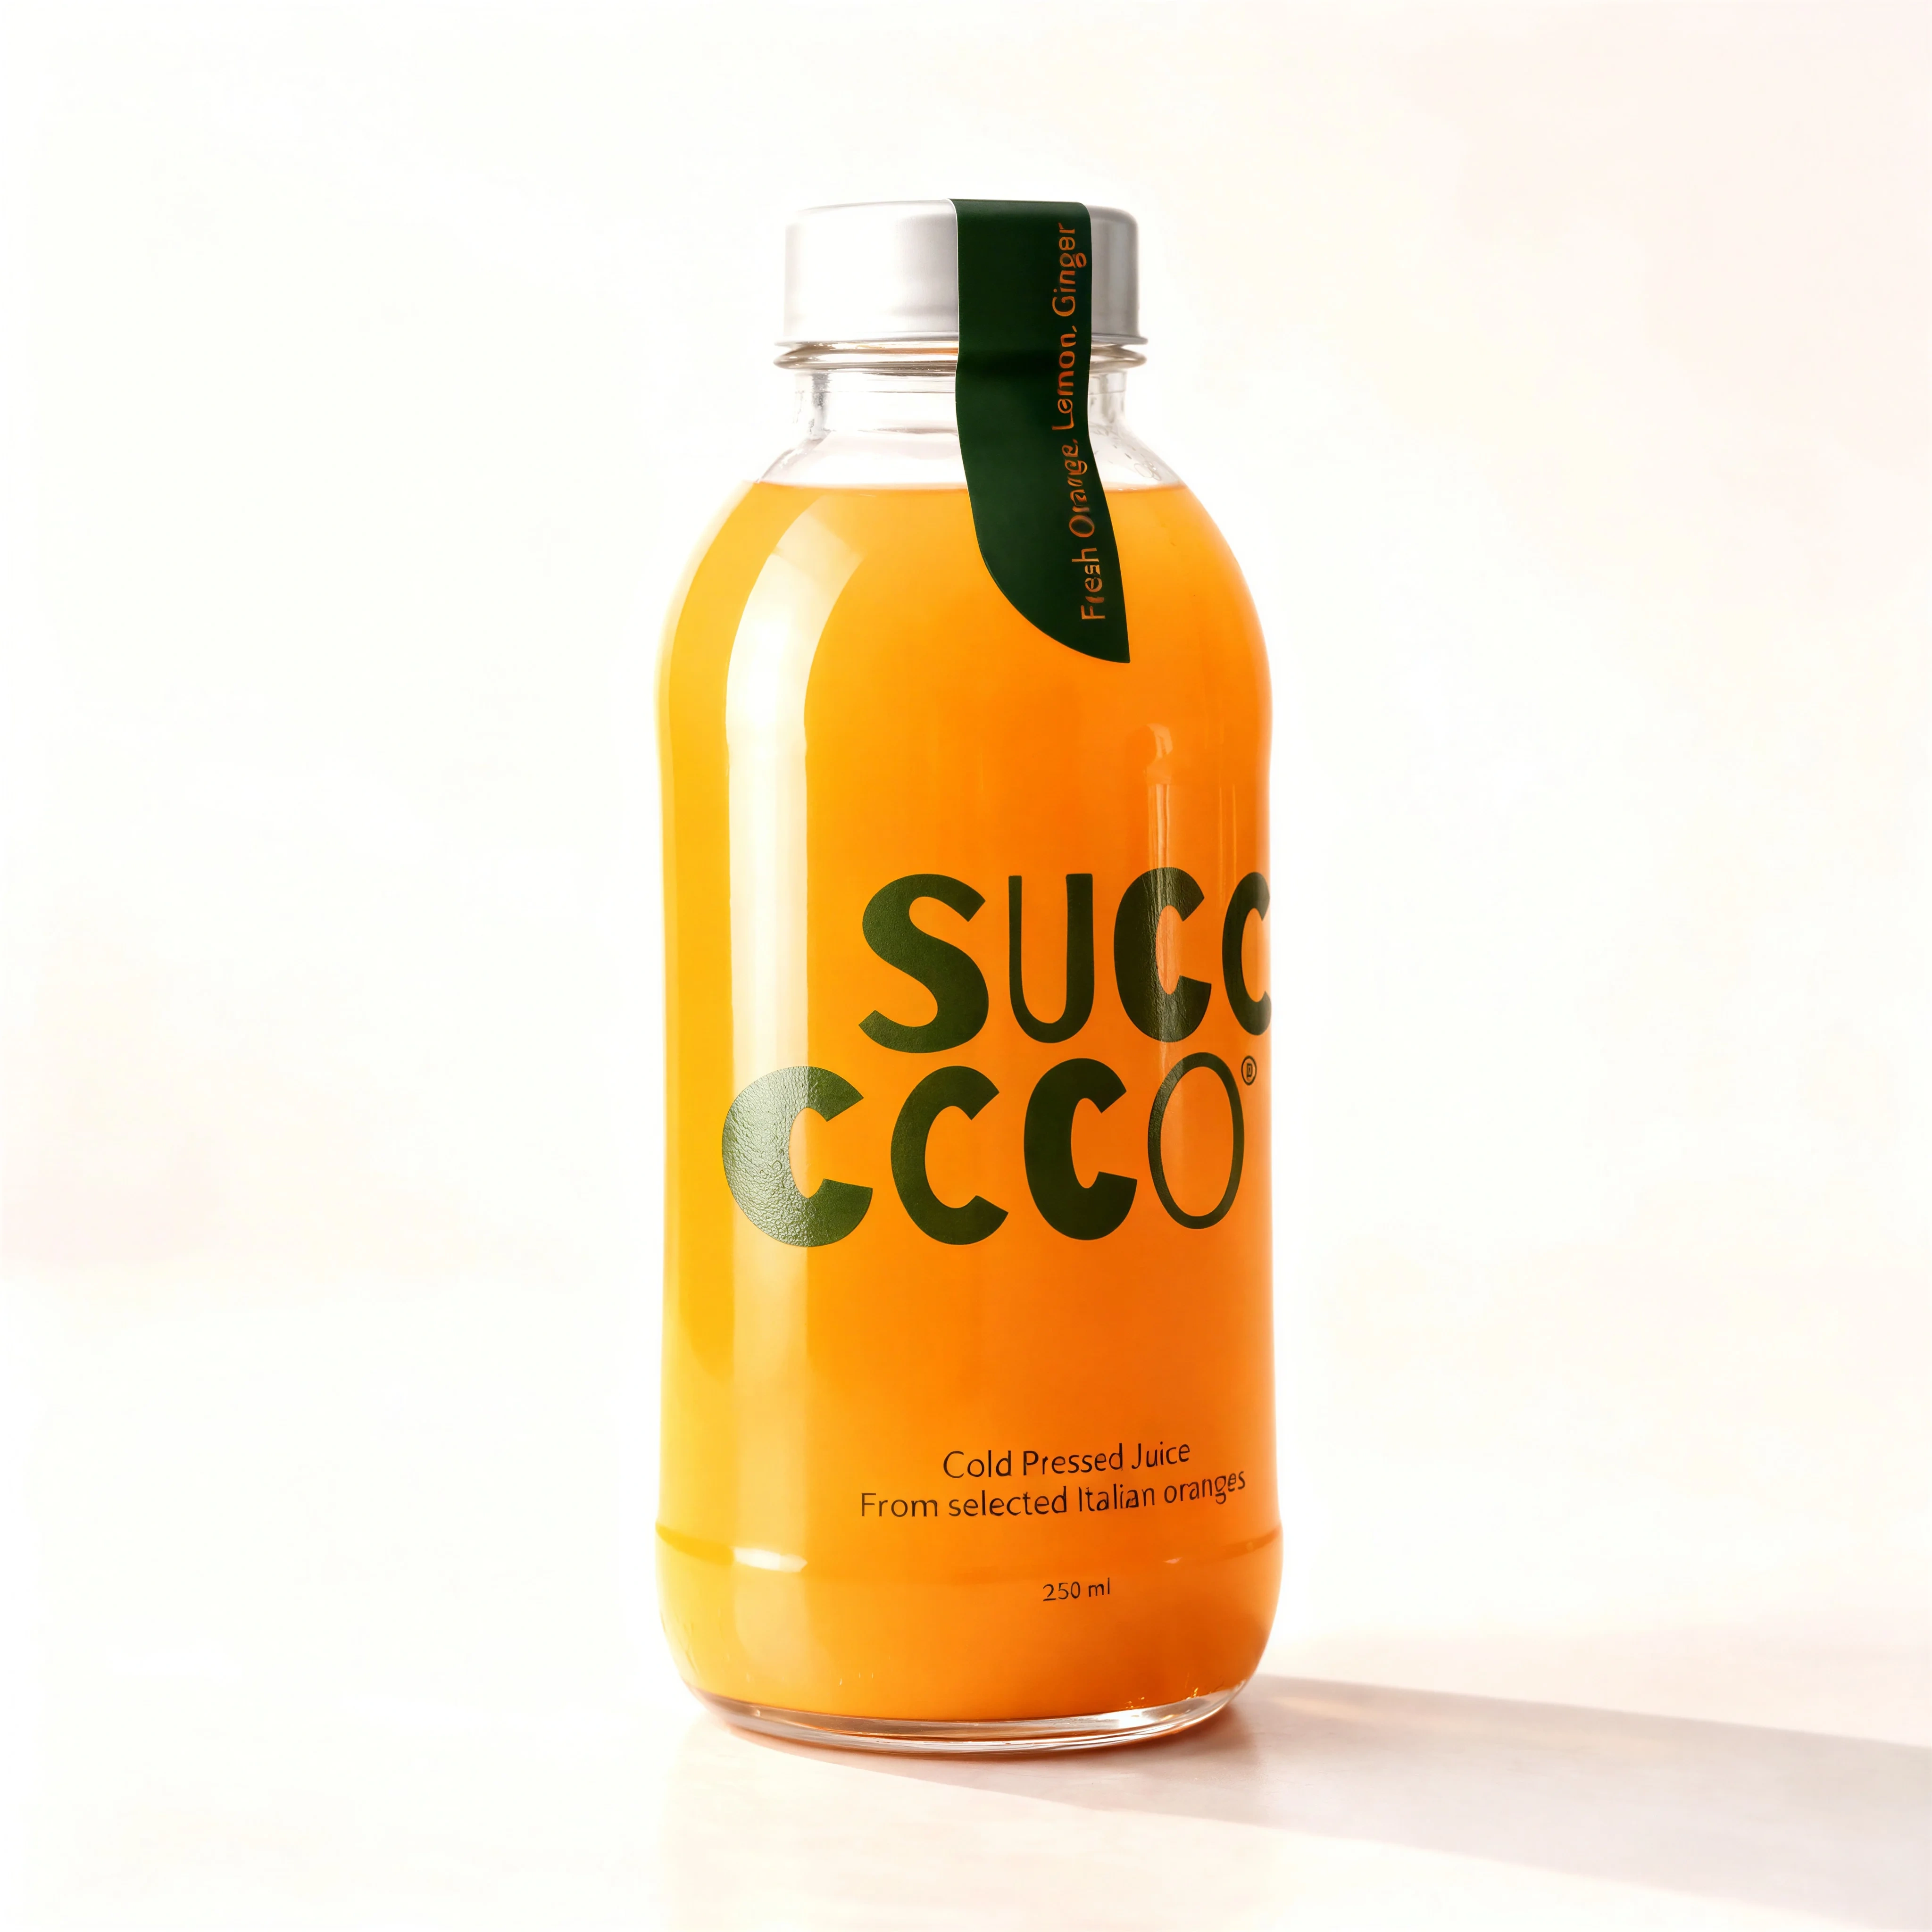
Macro-style crop emphasizes the atomizer and faceted glass construction.
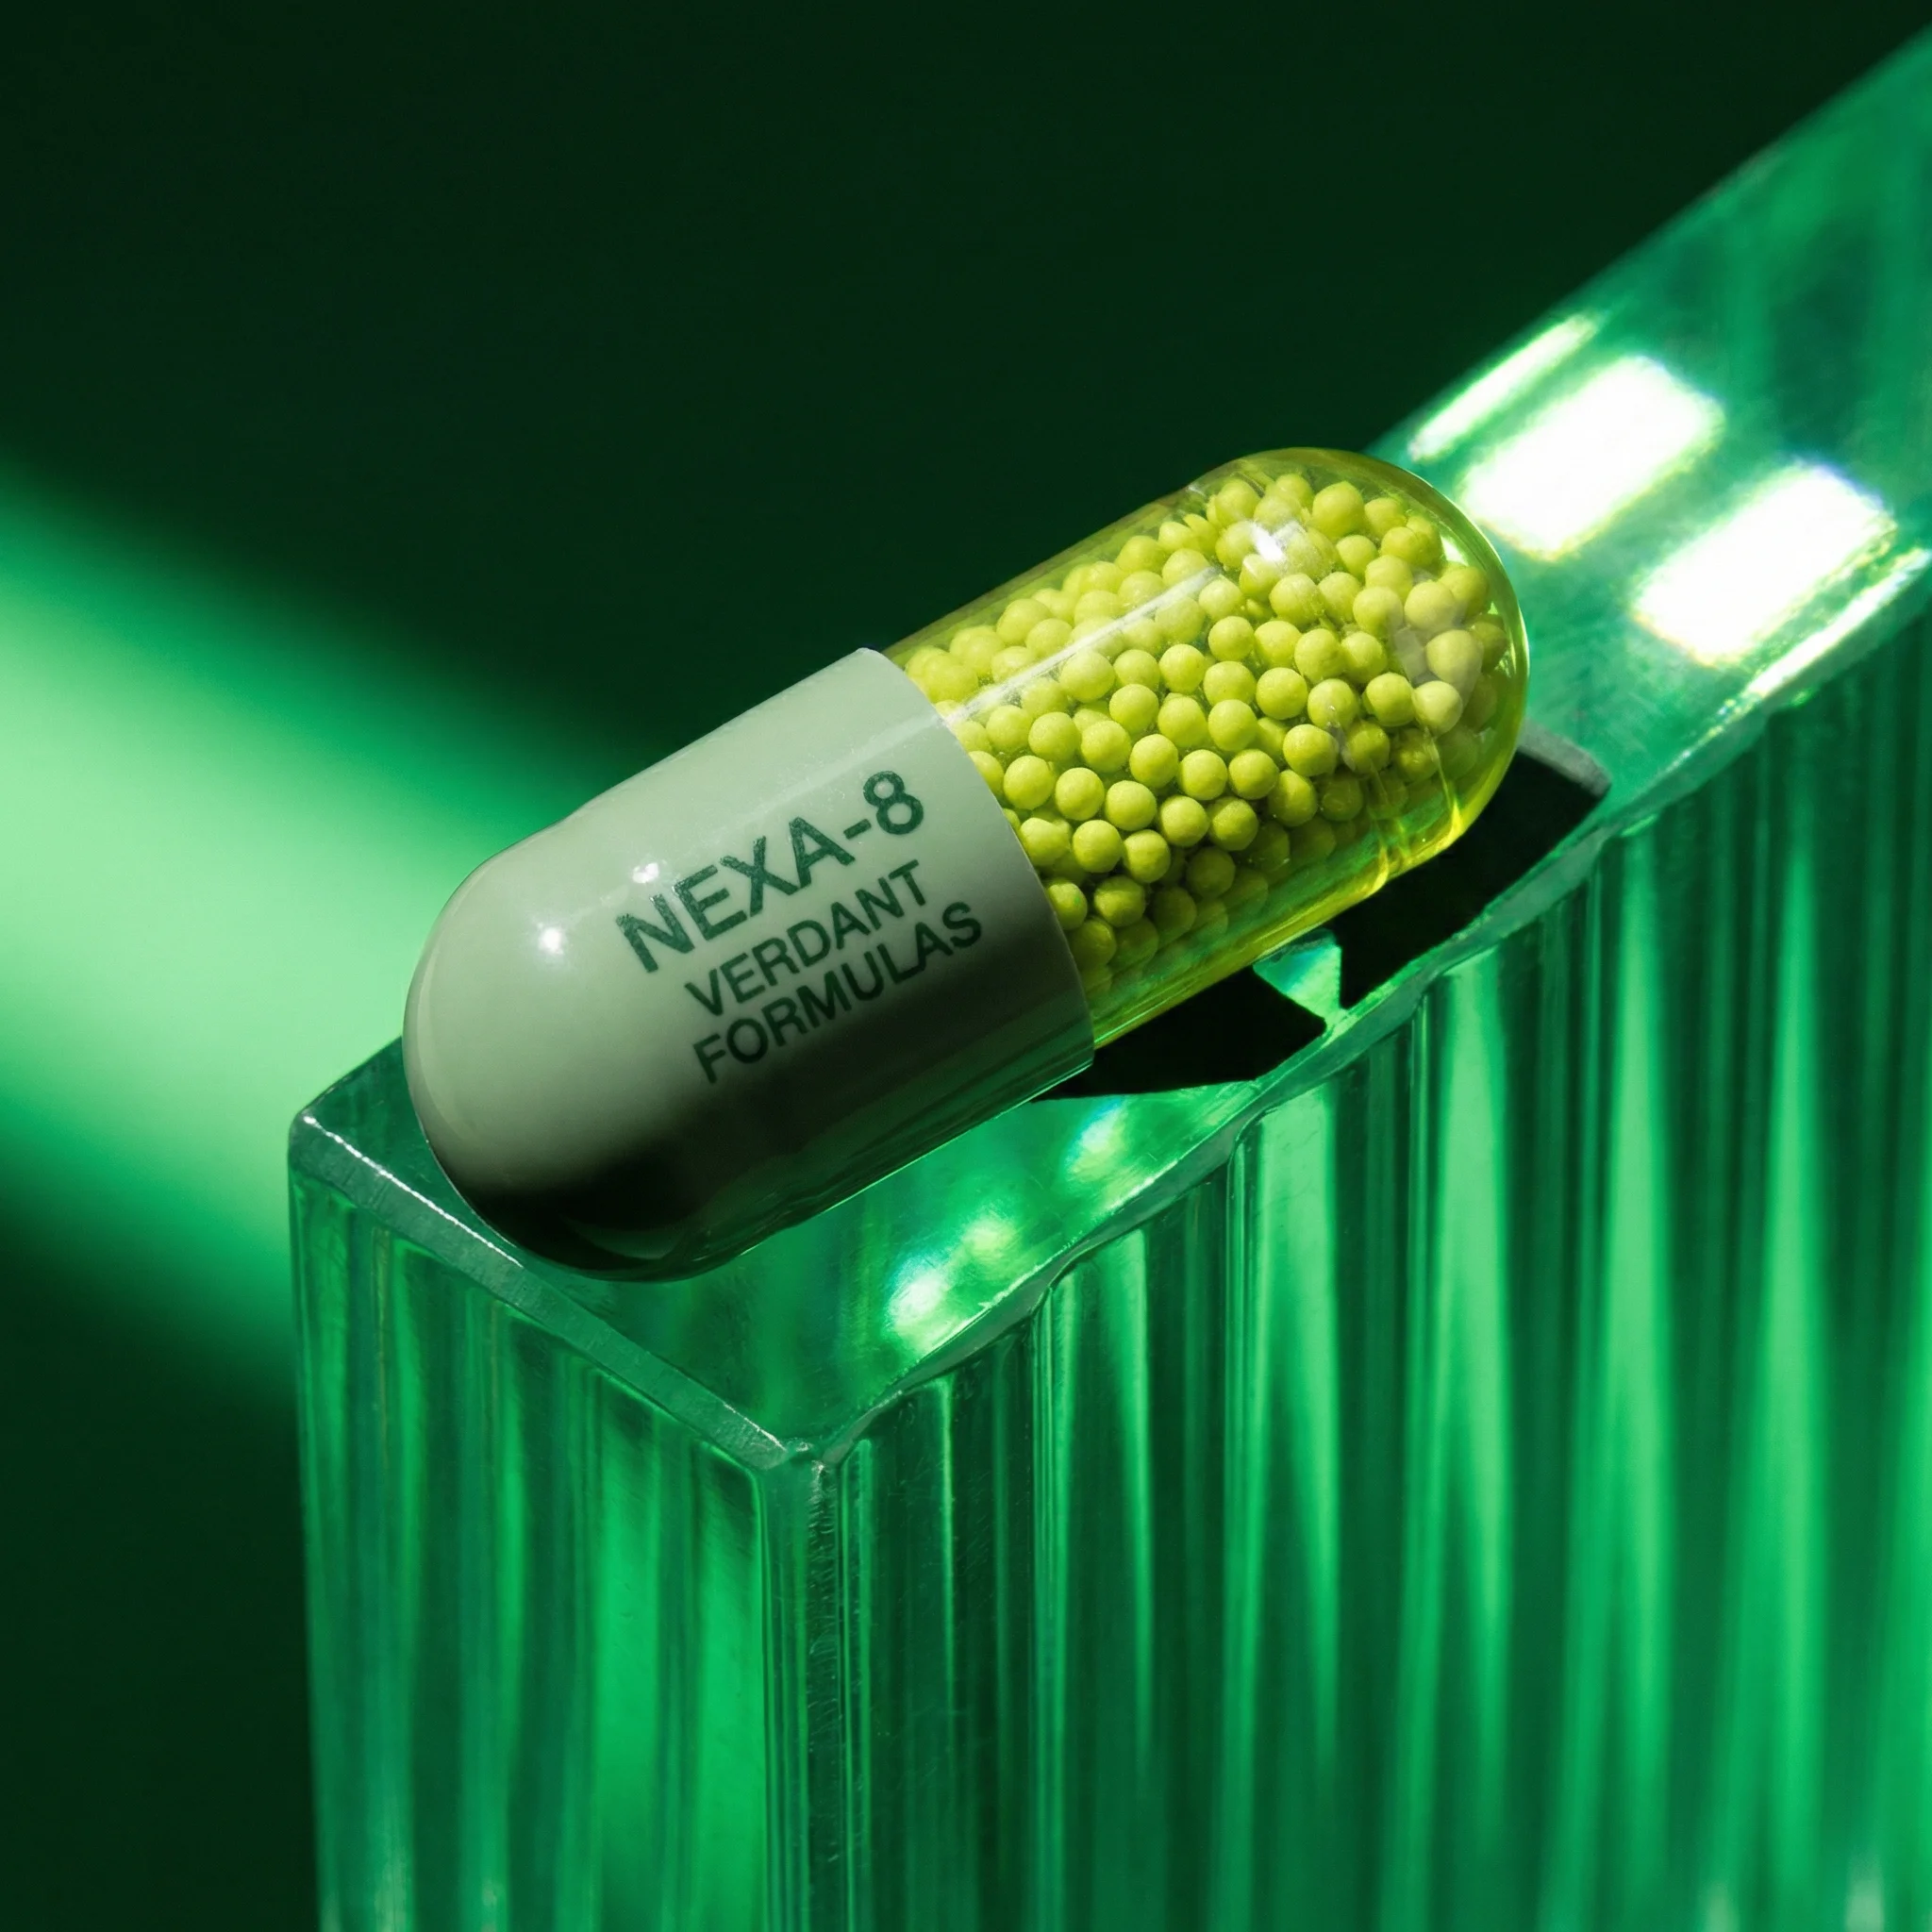
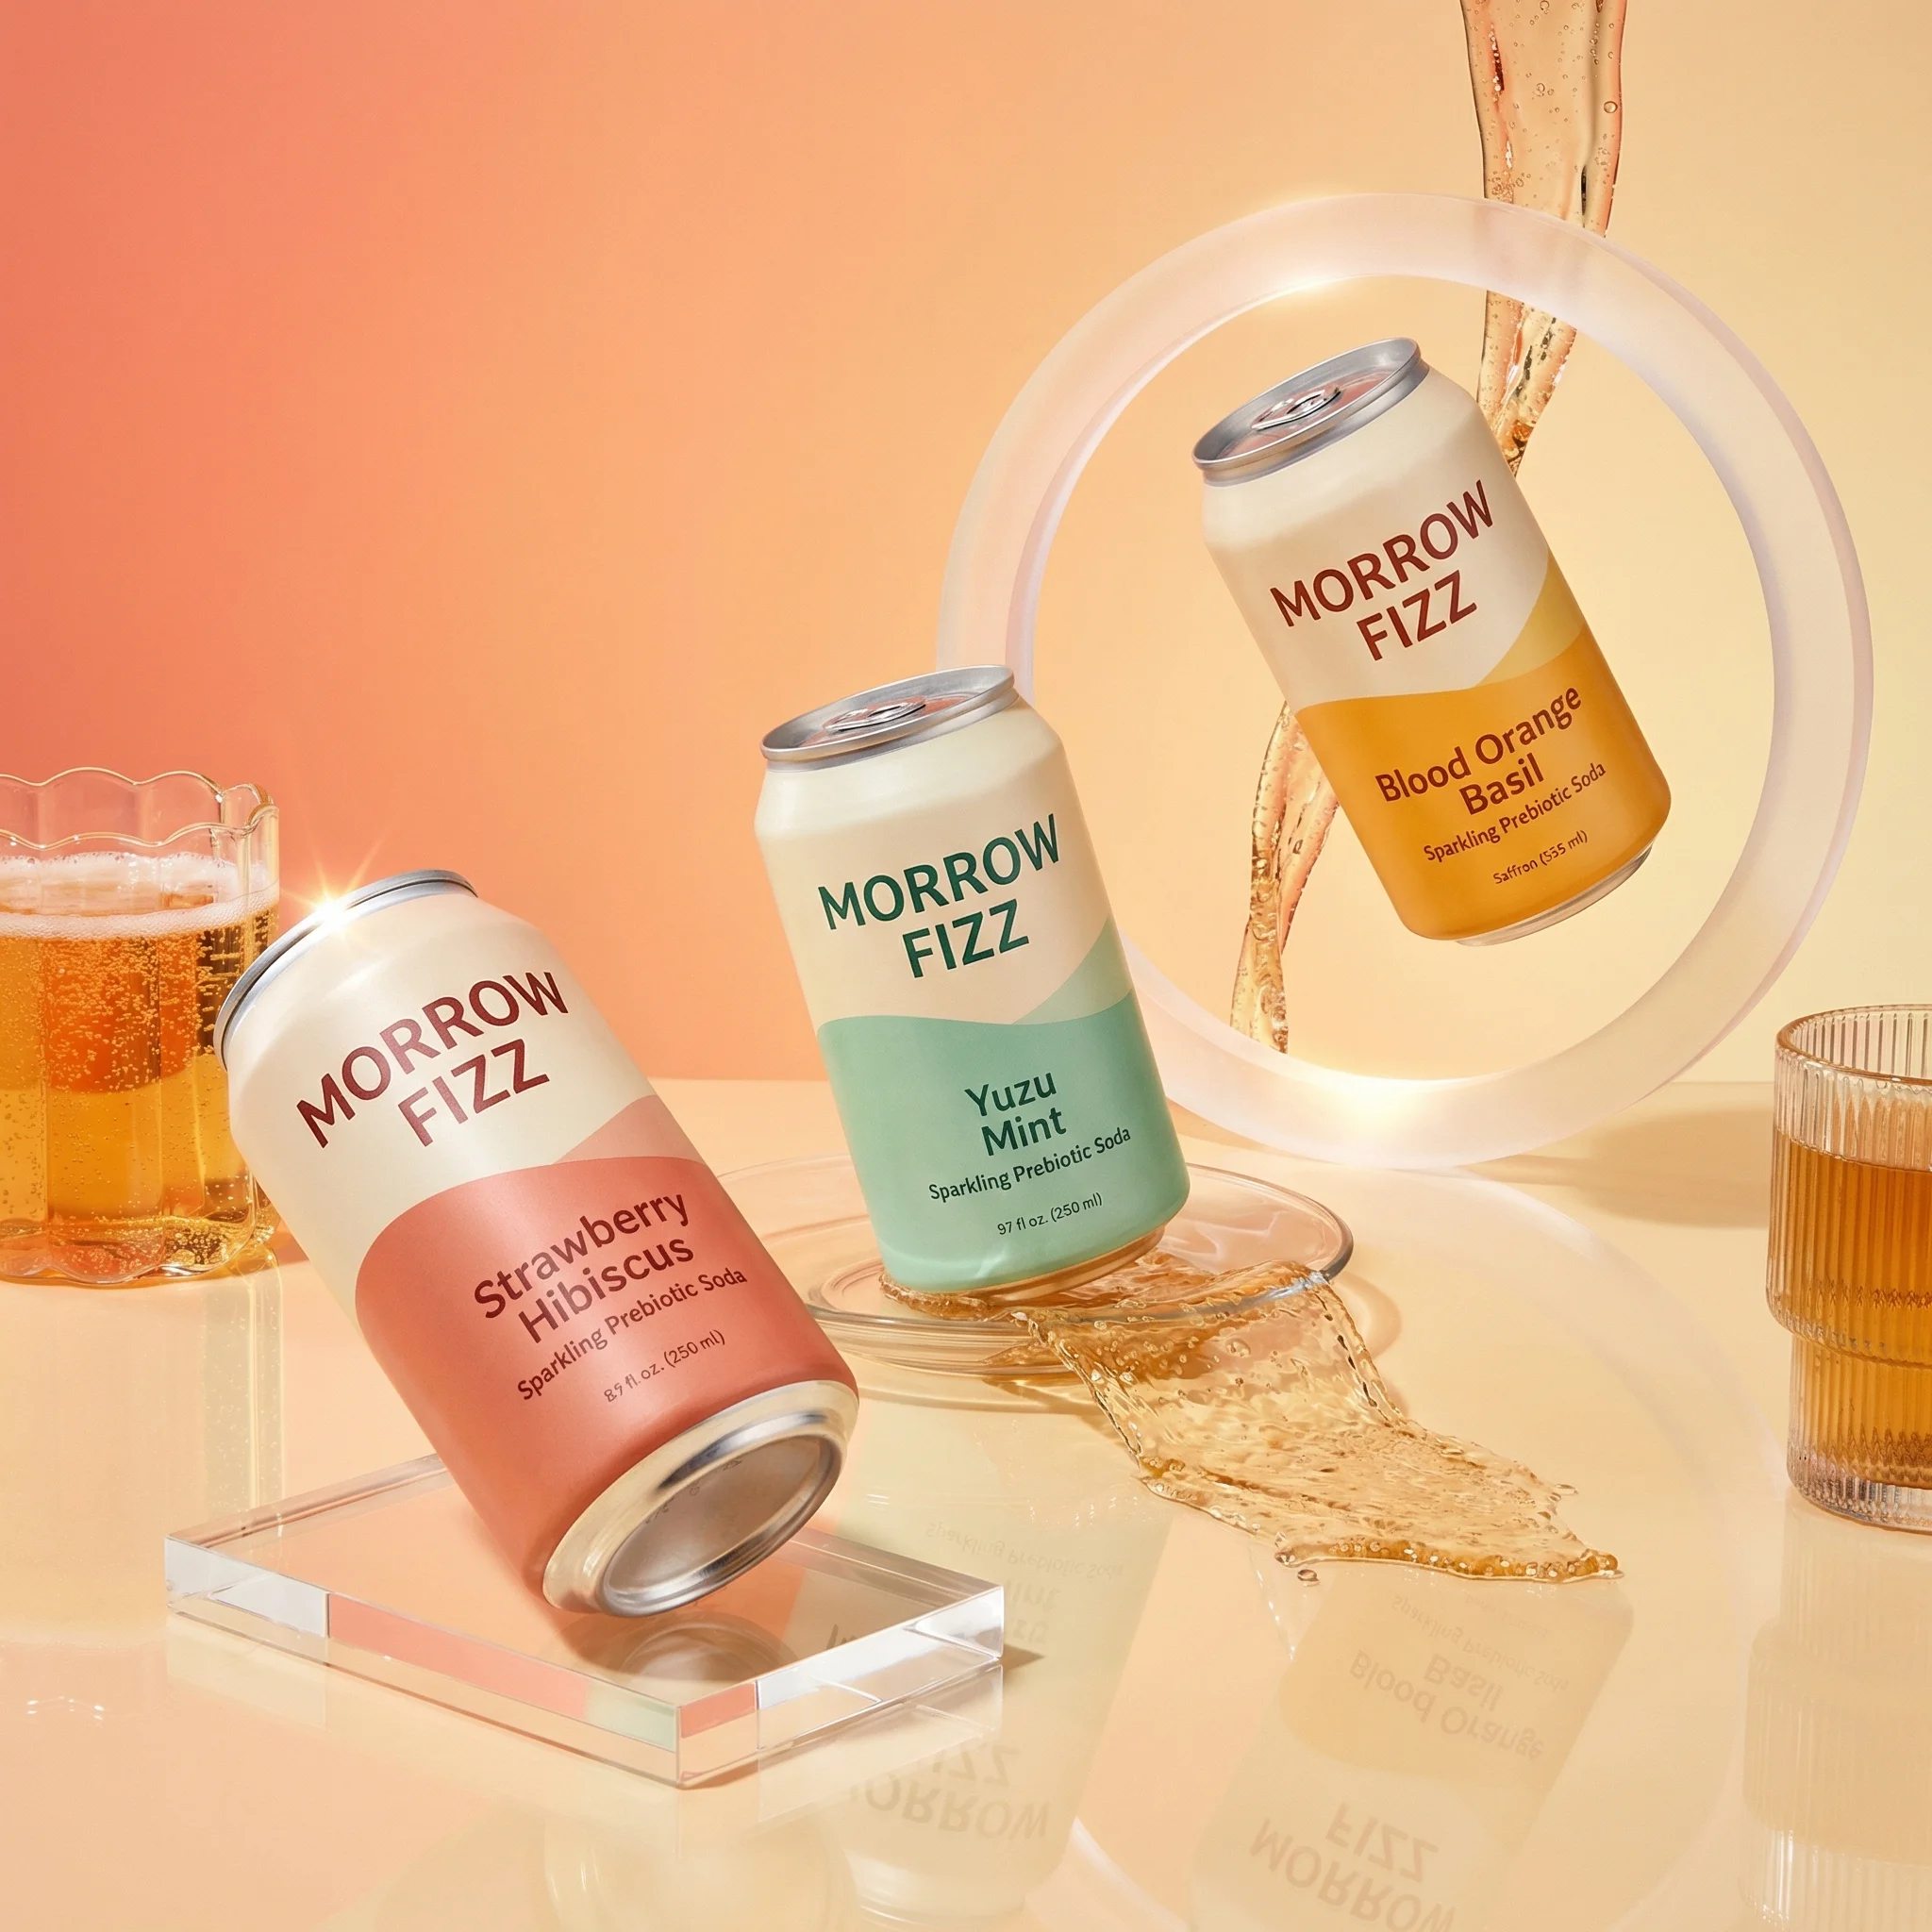
A single capsule detail sits on translucent acrylic with luminous macro reflections.
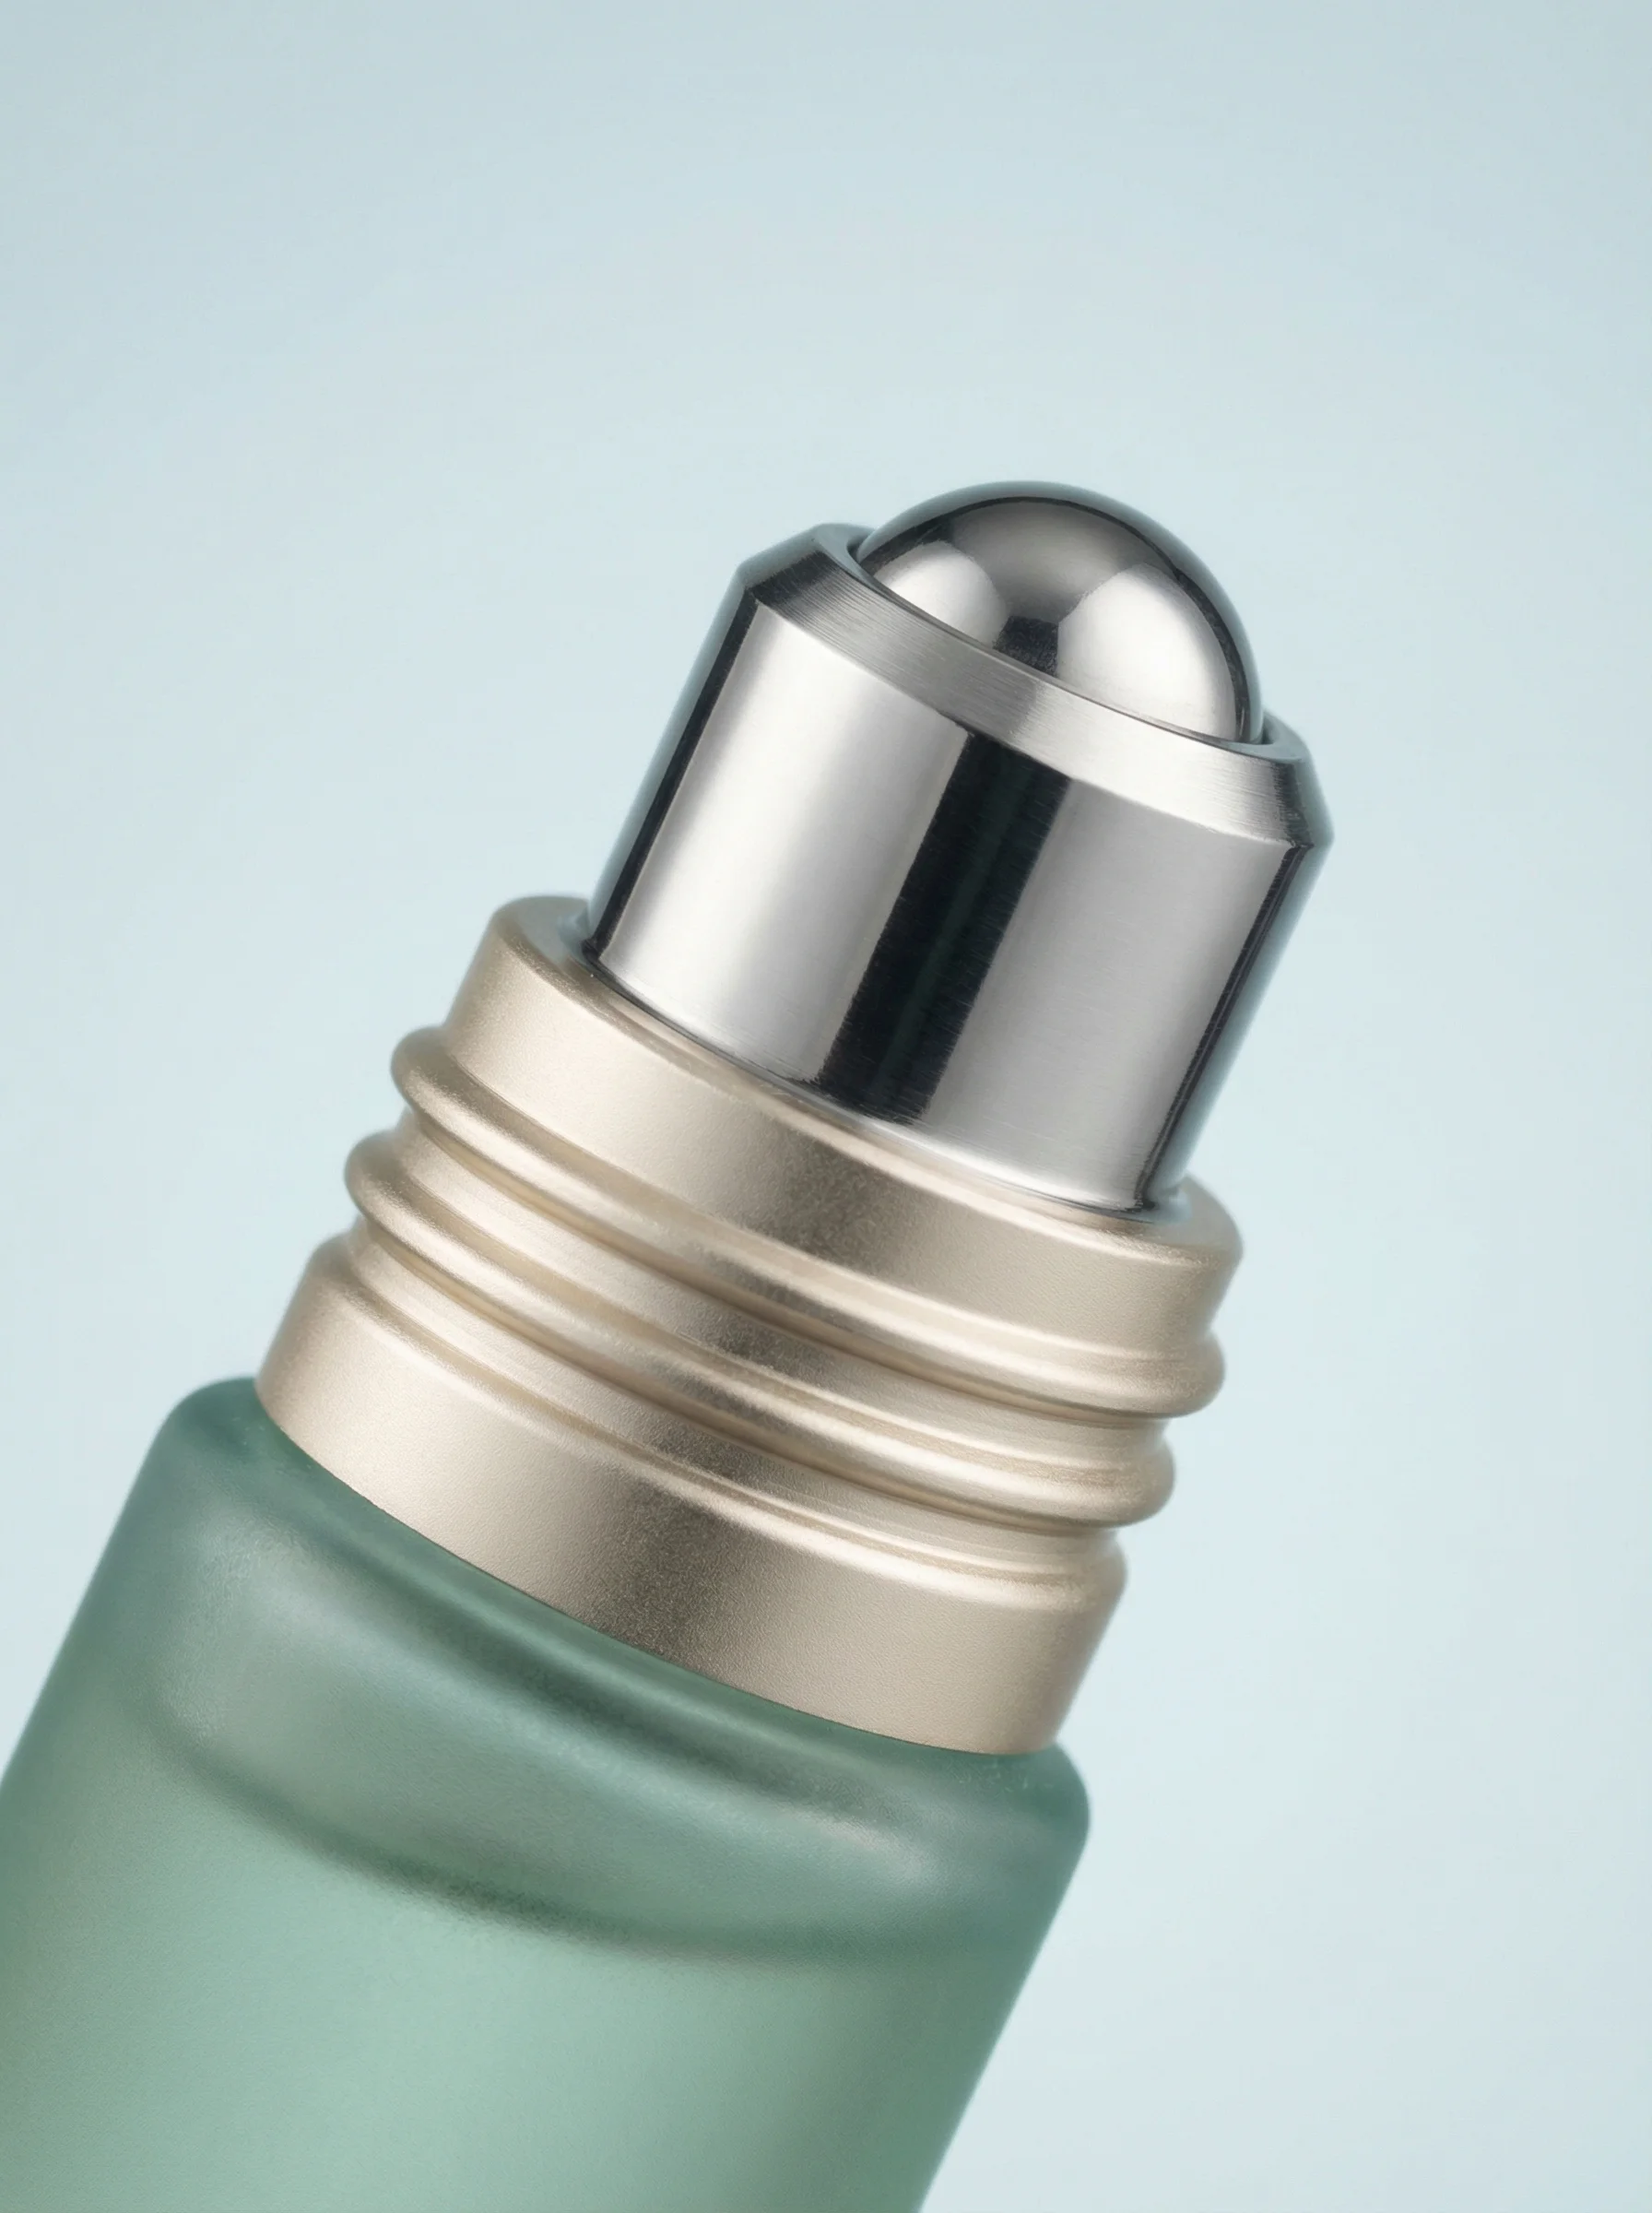
Macro crop highlights the roller applicator and compact product mechanism.
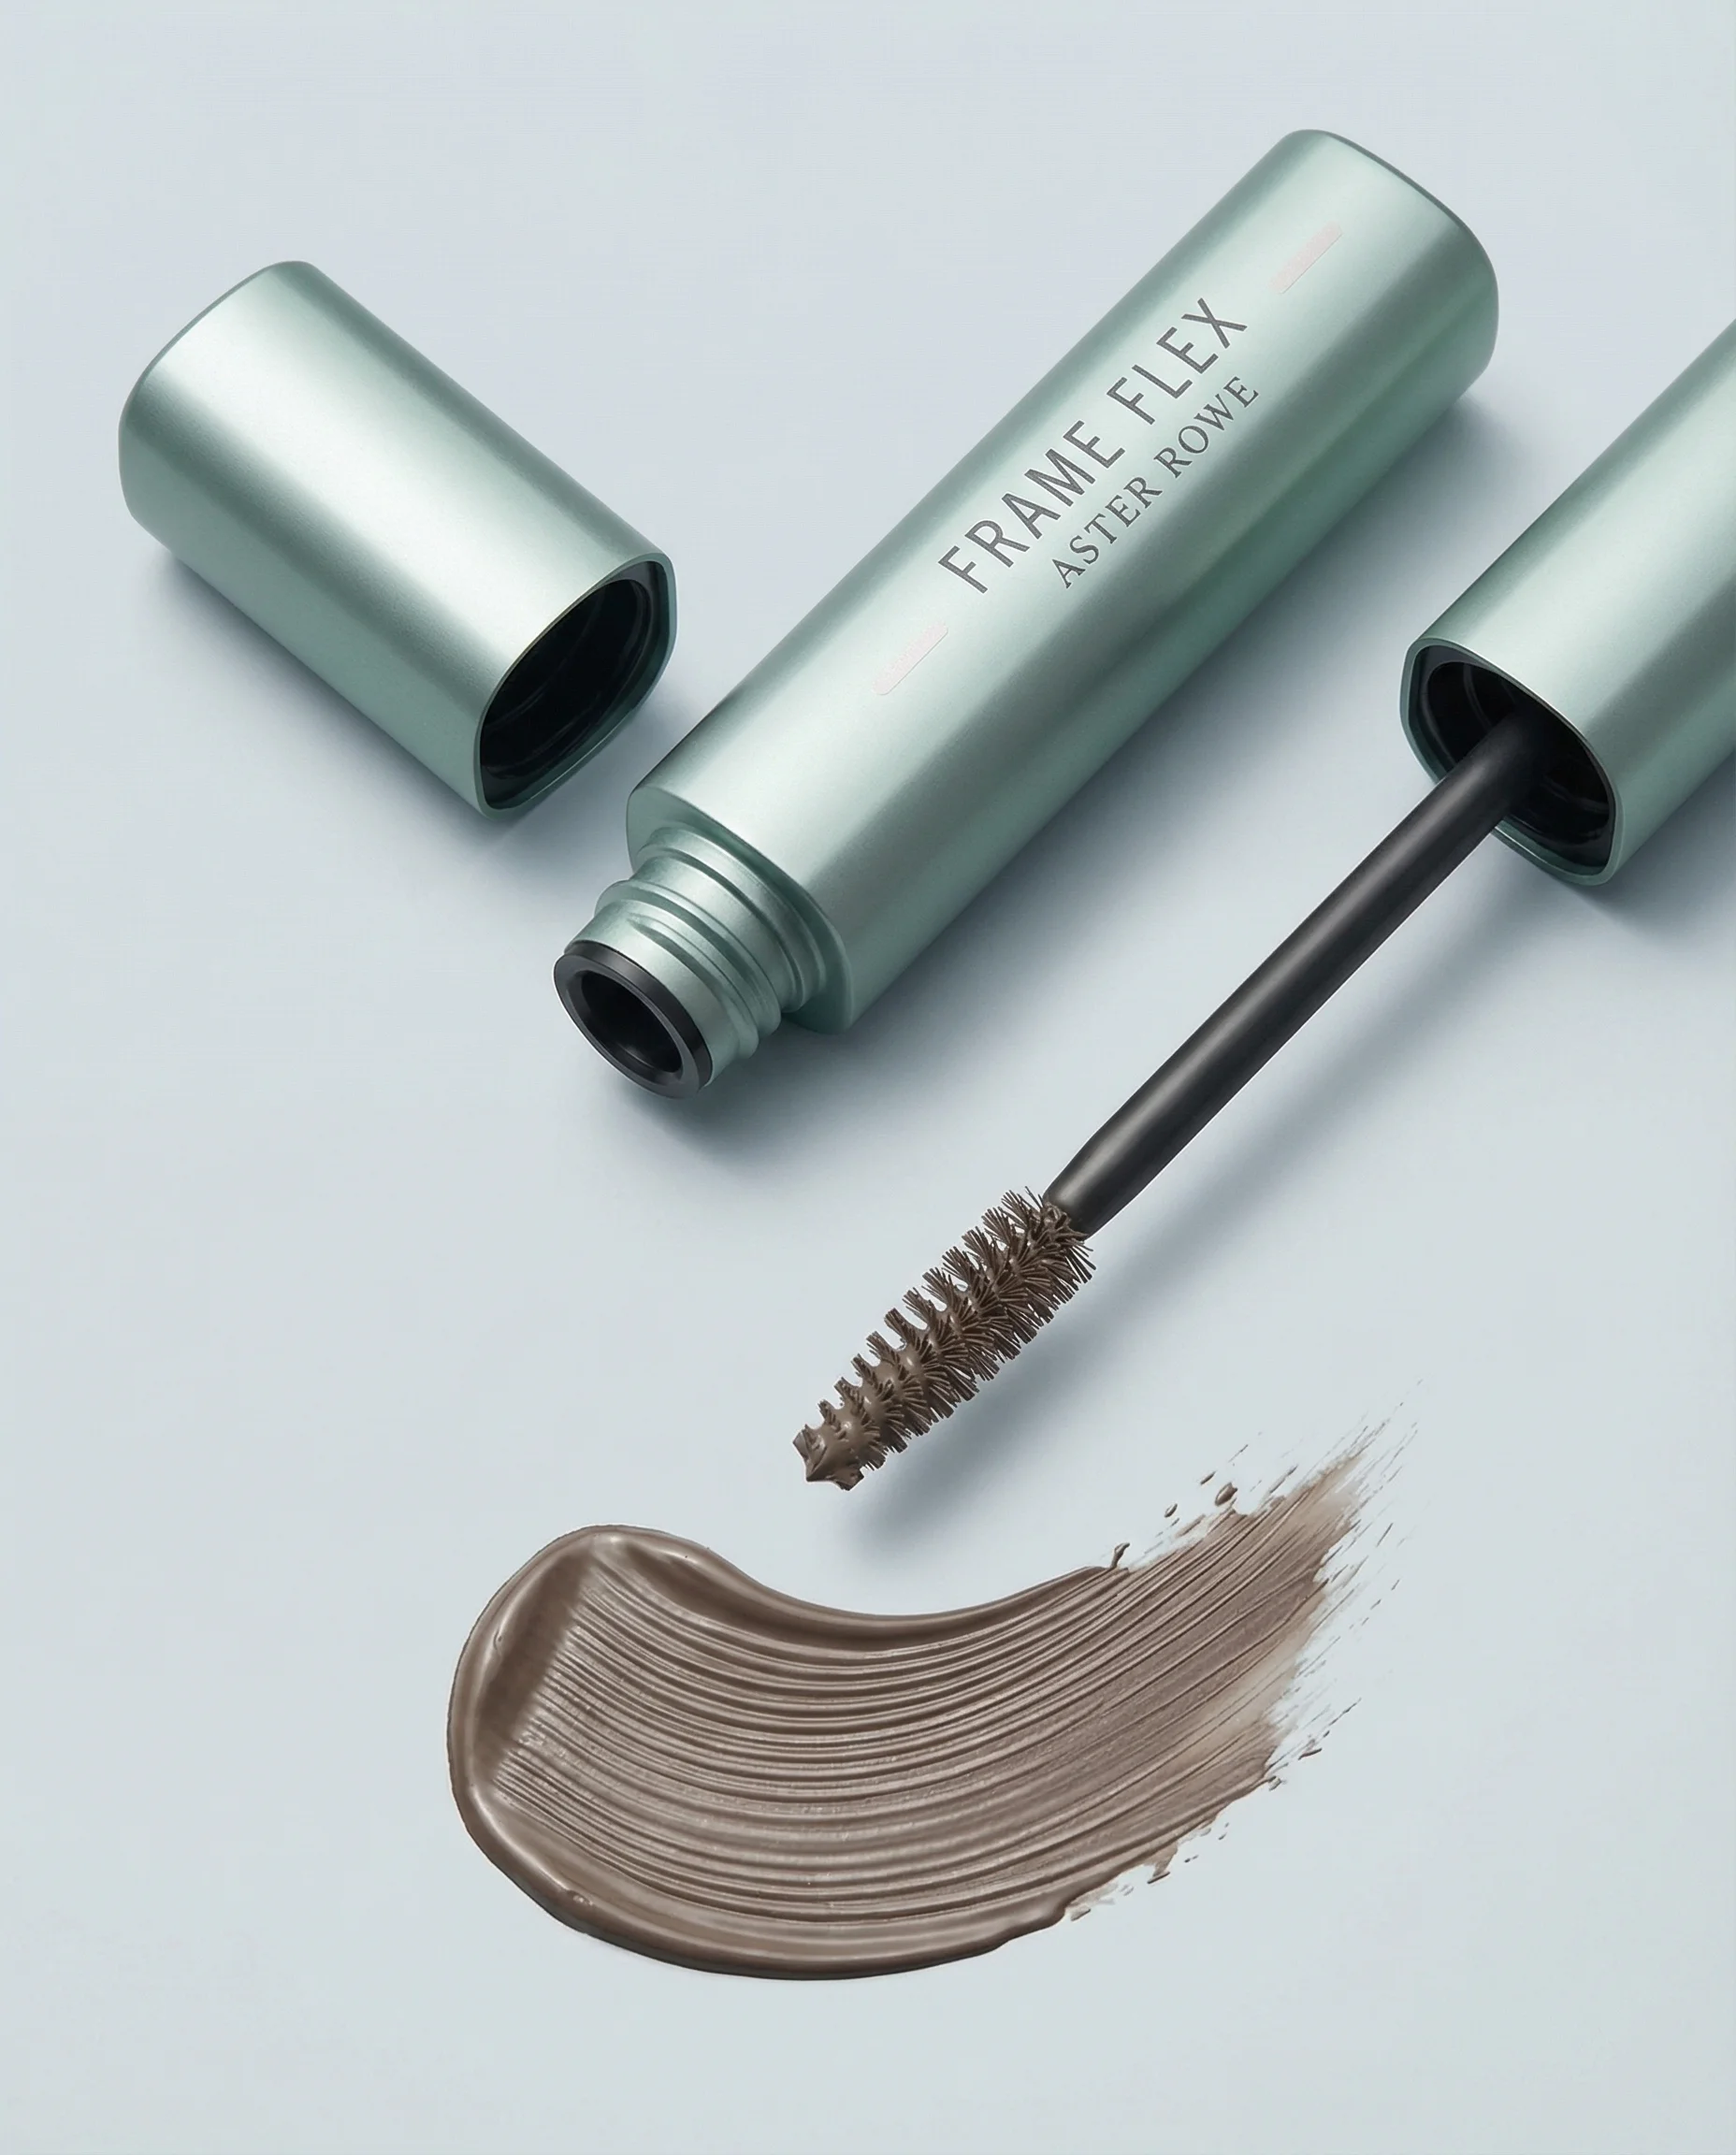
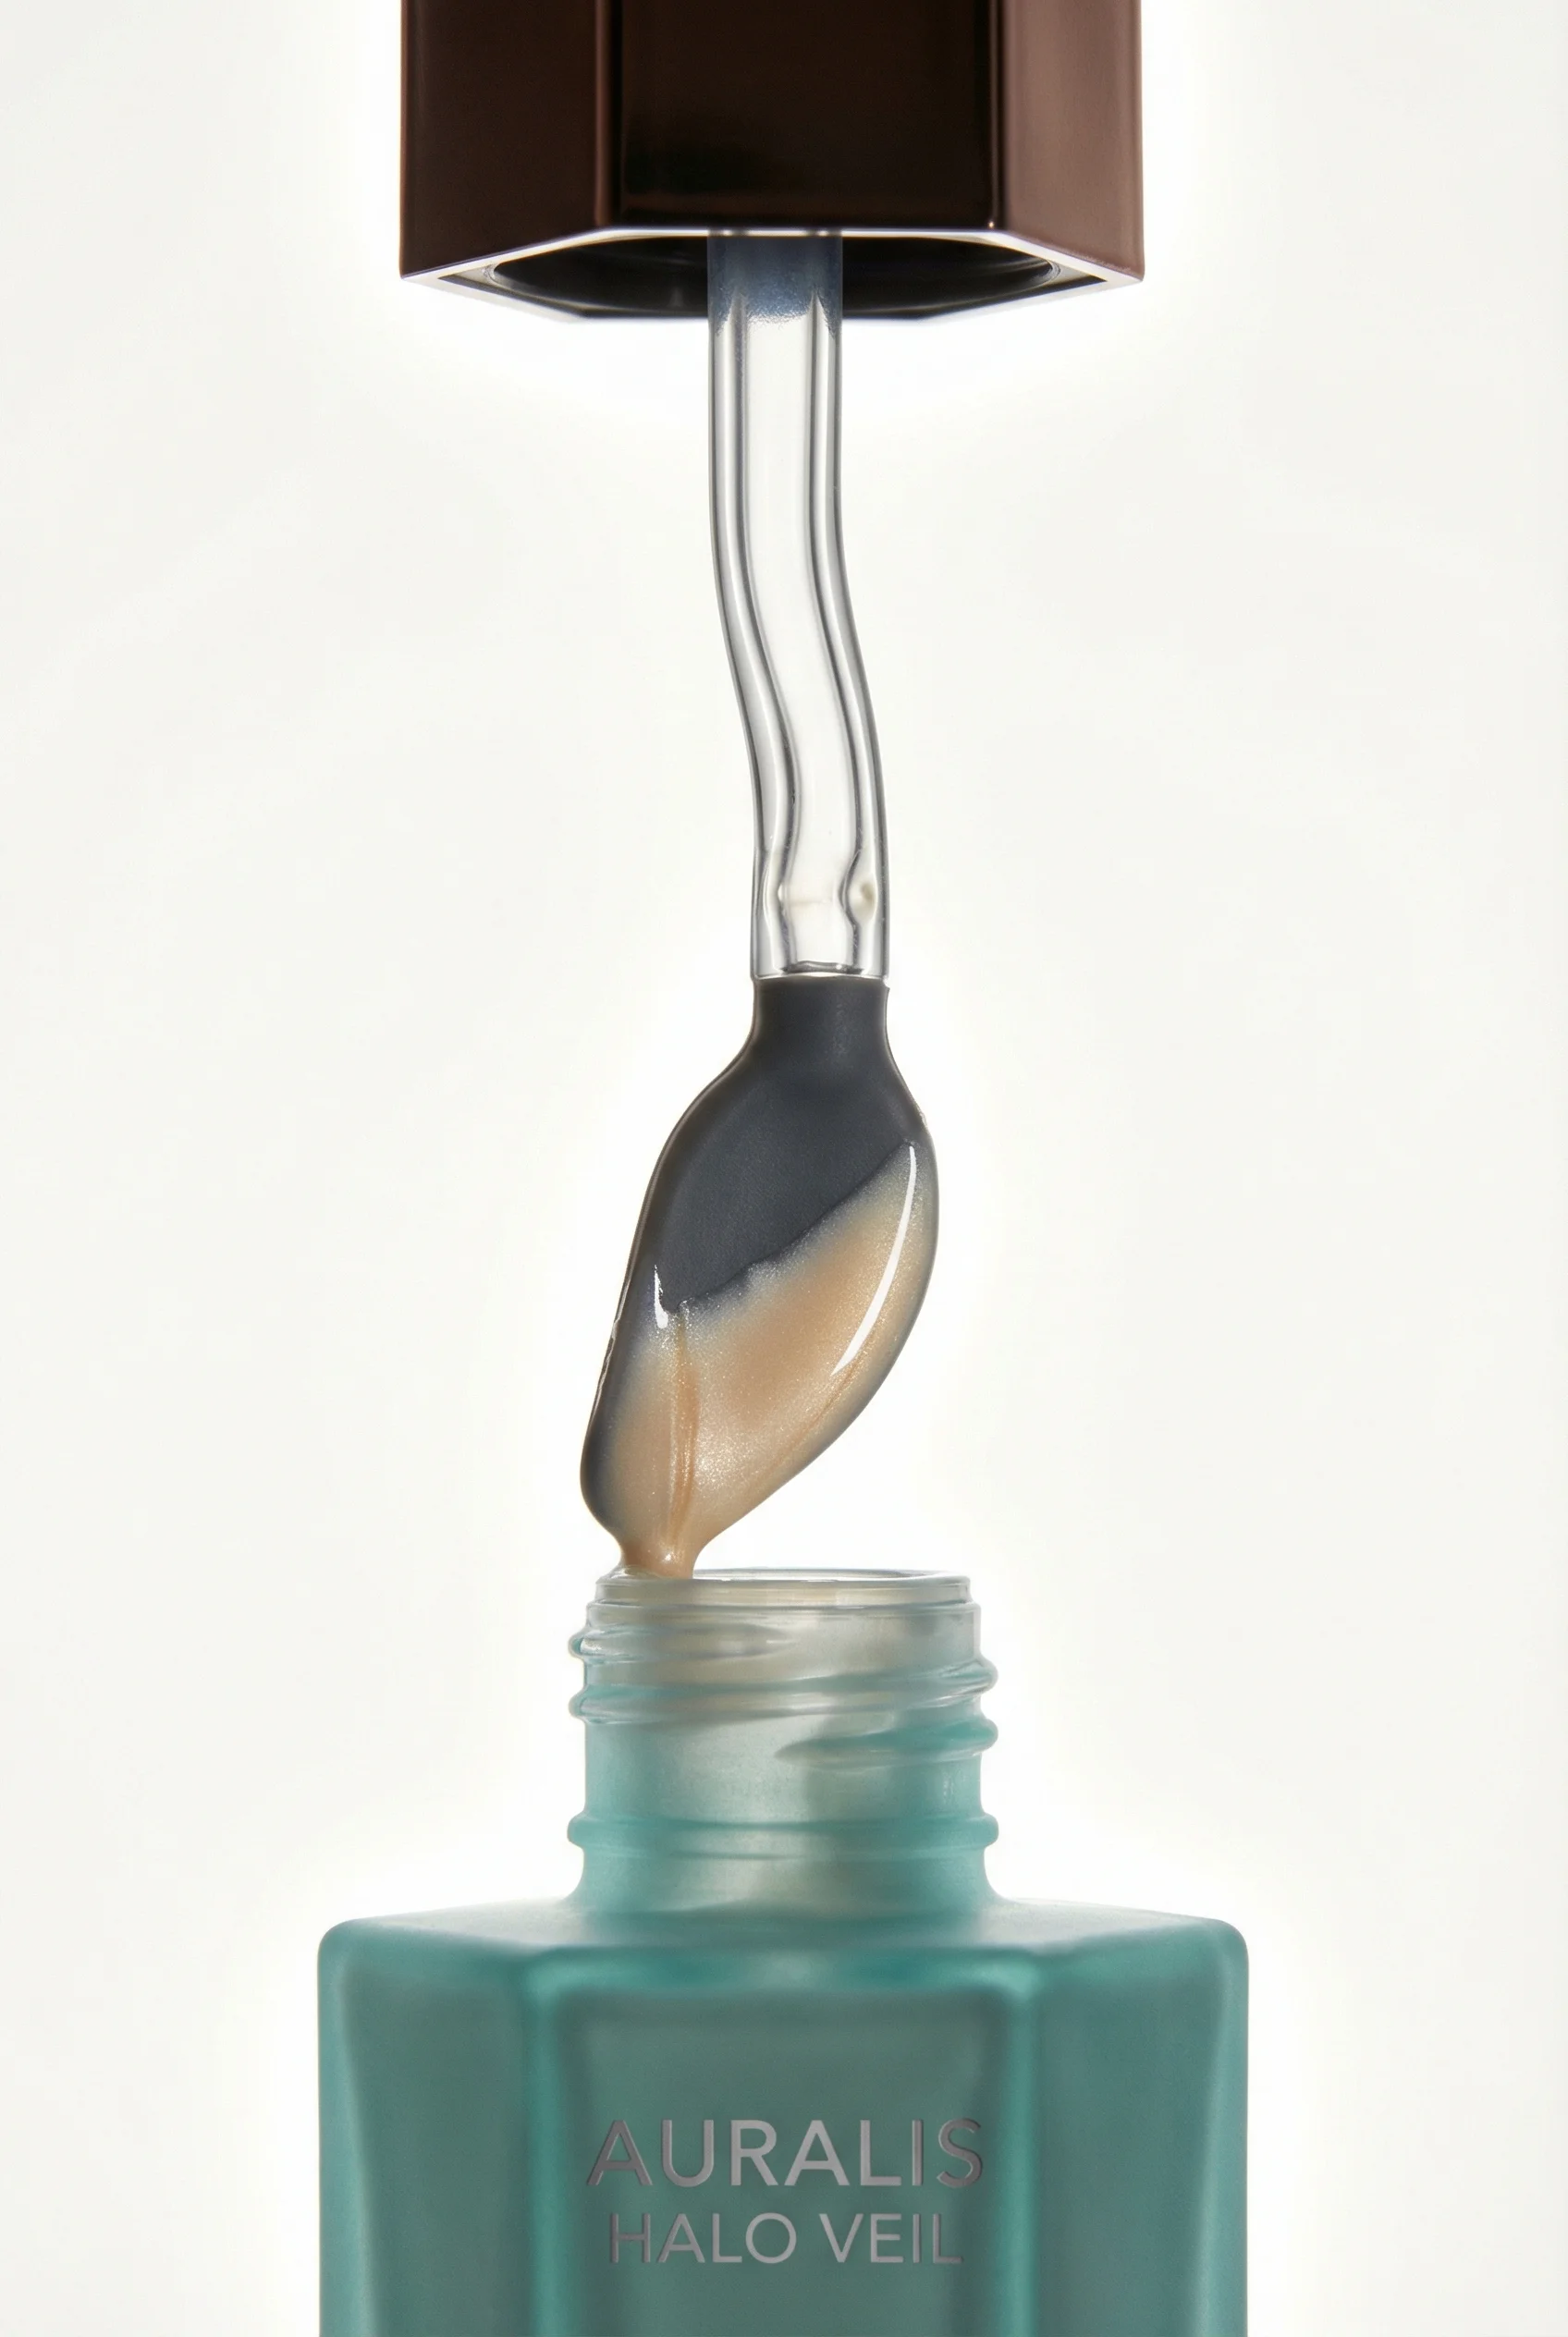
Open brow gel detail reveals applicator shape, brush texture, and product finish.
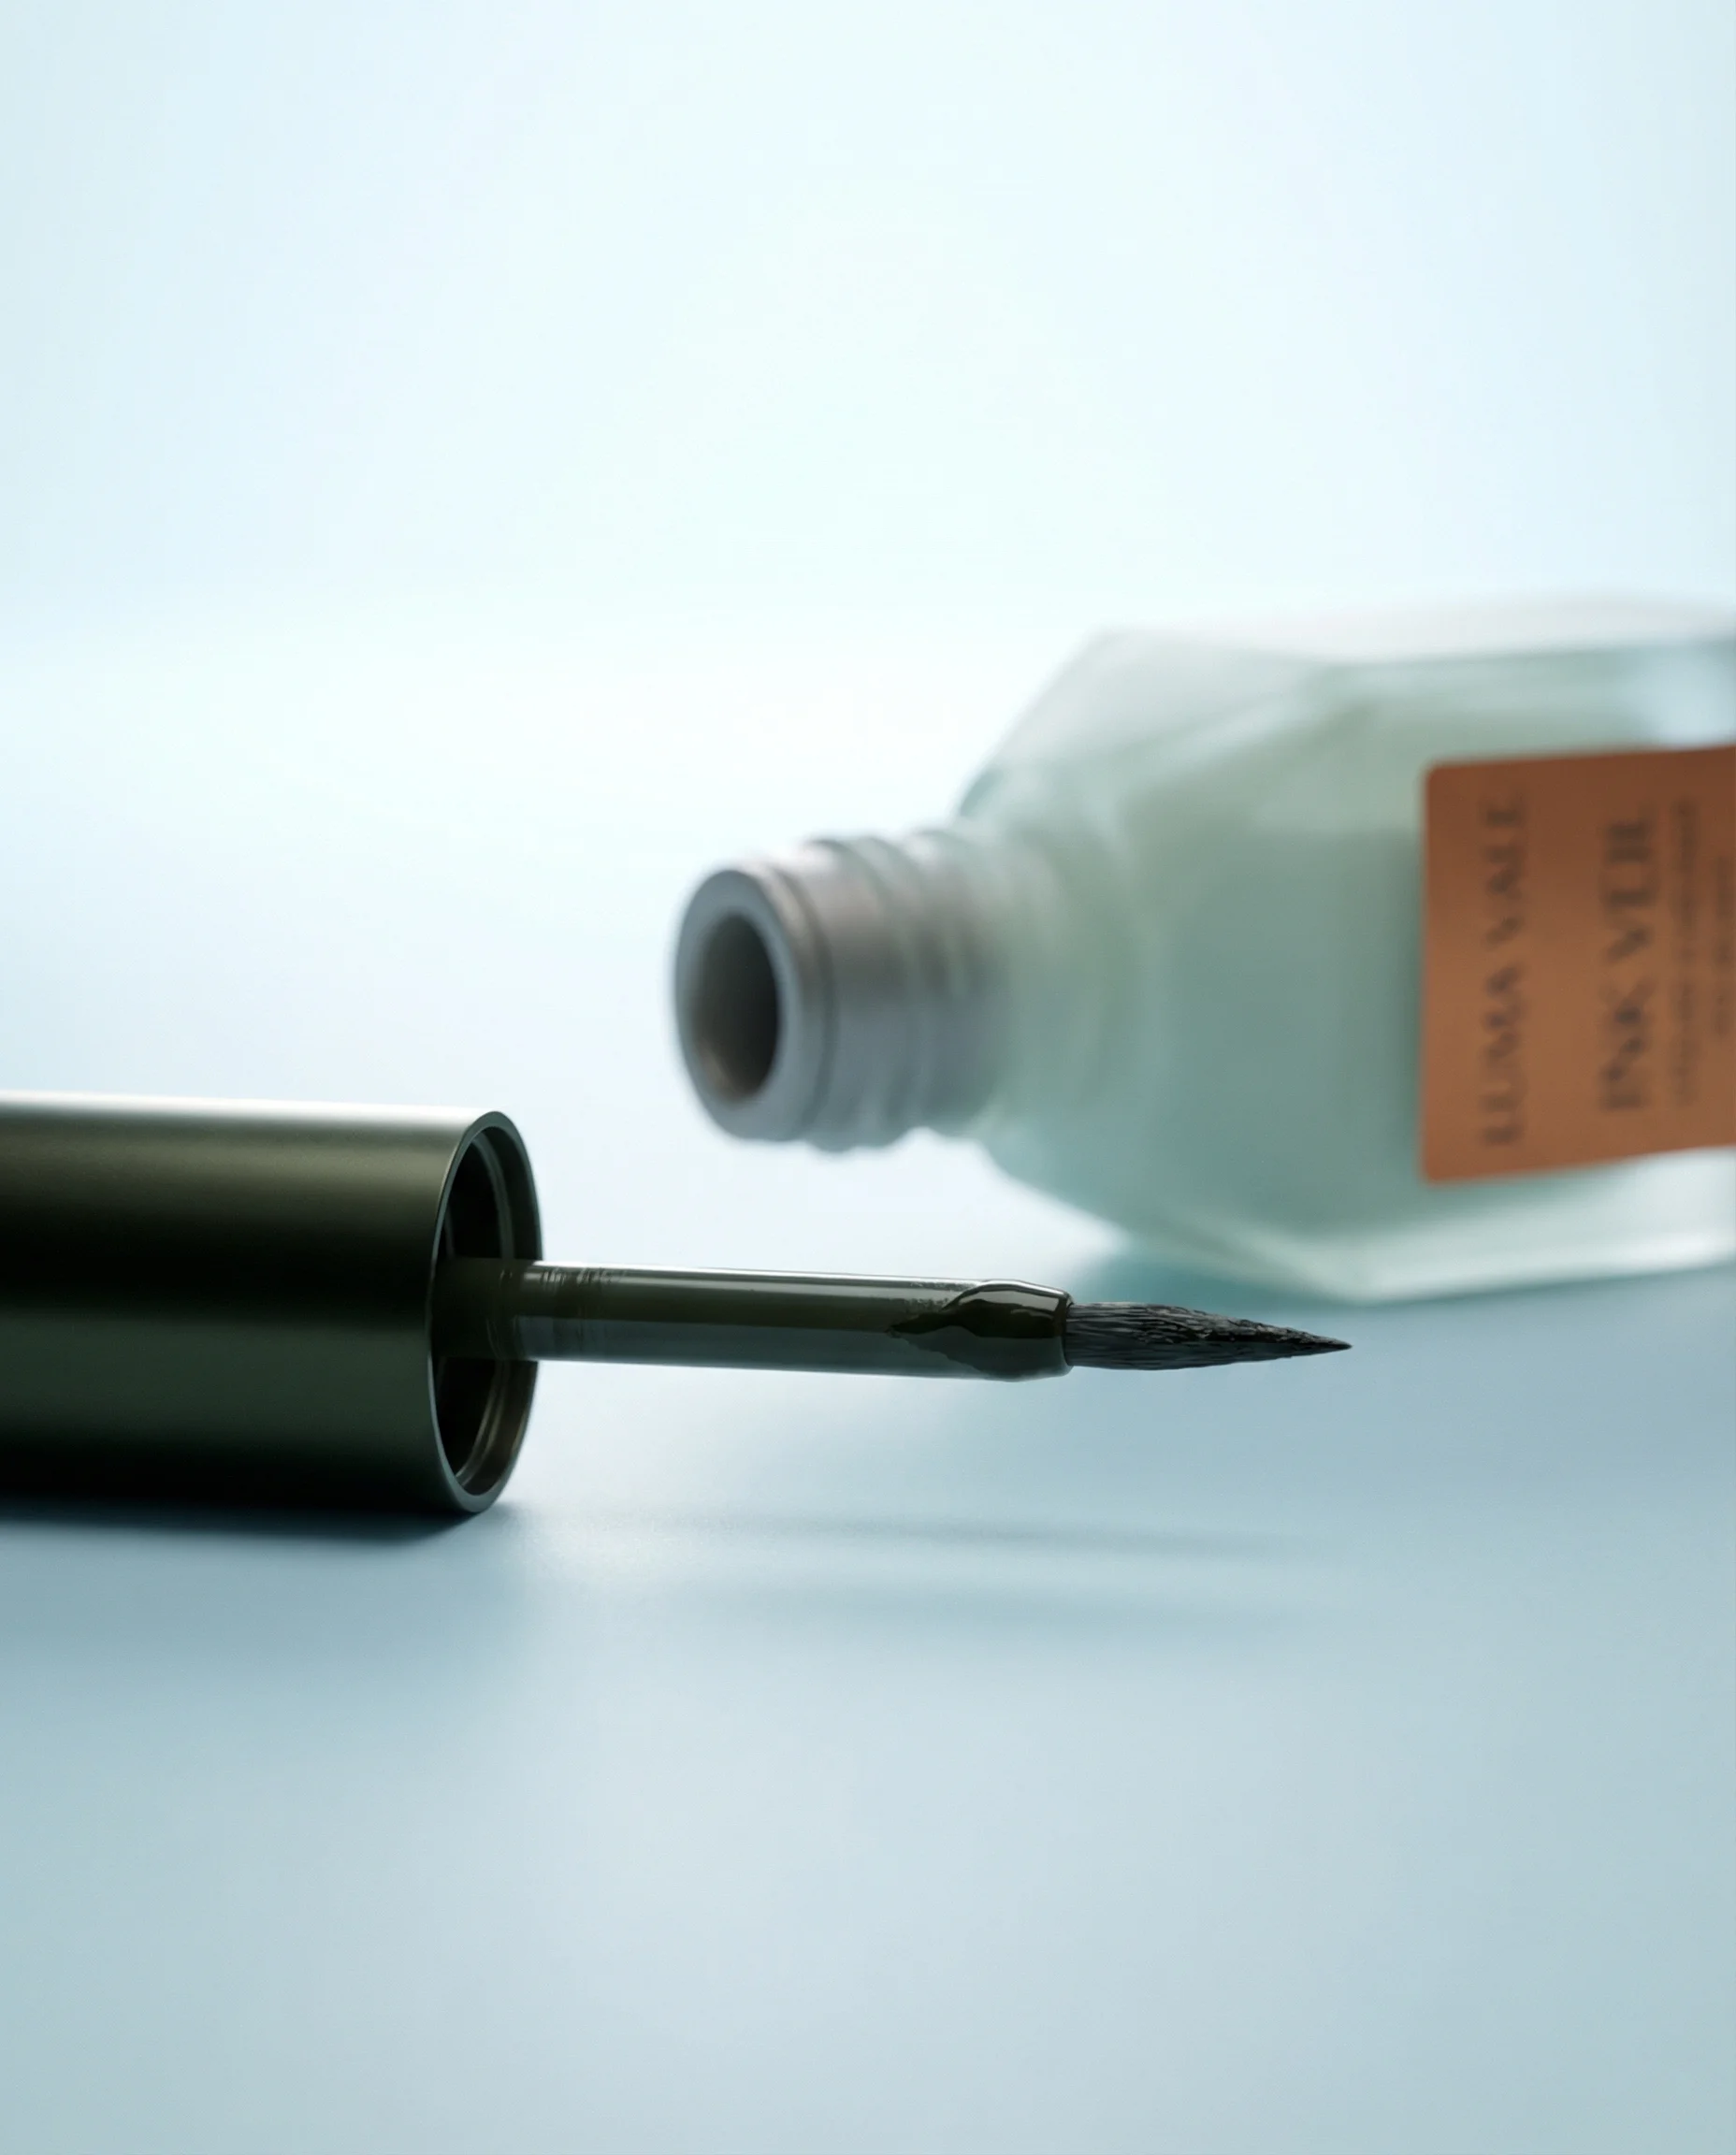
Close-up eyeliner shot emphasizes tip precision and liquid product control.
Detail shots should make the product easier to trust. They are useful when the value depends on feel, construction, performance, ingredients, craft, packaging, or a specific feature that needs inspection.
For ecommerce teams, the best detail product photography is planned from the shopper's point of view. The image should answer one question quickly: what does this product look like up close, and why does that detail matter?
This guide is about choosing and composing close-up proof shots. If the close-up is already strong but the label, logo, small type, or artwork is wrong, use Fix Product Details instead of regenerating the whole detail image.
What detail product photography should prove
Choose the right approach
Detail shot decision matrix
Use close-ups where a specific visual proof point can reduce doubt or increase perceived value.
| Use case | What to show | Why it matters |
|---|---|---|
| Texture and finish | Cream texture, fabric weave, metal sheen, condensation, grain, gloss, or matte surface. | Helps shoppers understand feel, quality, and sensory cues before buying. |
| Applicator or mechanism | Pump, brush, cap, zipper, clasp, rollerball, nozzle, closure, blade, or button. | Explains how the product works and reduces handling uncertainty. |
| Label and claims | Ingredients, dosage, care instructions, size, certification marks, or product variant. | Supports trust when claims or usage instructions influence purchase decisions. |
| Construction quality | Stitching, seams, lining, hardware, embossing, edge finishing, packaging inserts. | Shows craft and durability in categories where details signal value. |
Visual playbook
Visual playbook
Detail shot examples
Each close-up should have one job. Tight crops are strongest when the product feature remains legible and the surrounding styling does not compete with the proof point.
Texture and surface behavior
Use controlled highlights to show water, gloss, grain, powder, cream, fabric, or metal without flattening the product.
Use when: Use for beauty, grooming, apparel, food, beverage, and premium material claims.
Prompt cue
Macro ecommerce detail shot of the product feature, visible surface texture, controlled highlights, shallow depth of field, product material accurate, no extra branding.
Applicator and use mechanism
Show the part of the product the customer touches, opens, twists, rolls, presses, or applies.
Use when: Use when the mechanism is a selling point or the product is hard to understand from the front view.
Prompt cue
Tight macro view of the applicator mechanism, product held steady, clean studio light, crisp edges on the functional detail, packaging scale preserved.
Open product proof
Open, uncapped, or partially used views can show texture, fill, brush shape, contents, and usability.
Use when: Use for cosmetics, skincare, sauces, balms, jars, pens, tools, and refillable packaging.
Prompt cue
Close-up open product detail, applicator visible, product texture clear, label still recognizable, premium ecommerce lighting, no mess unless requested.
Precision feature
For fine-tip or technical products, use a crop that makes the point of control unmistakable.
Use when: Use for eyeliner, tools, electronics, grooming devices, craft supplies, and medical-style packaging.
Prompt cue
Macro precision-detail product image, tip sharply focused, clean background, subtle shadow, accurate product proportions, no distorted label or altered tip shape.
How to choose detail shots
Start with the product page, not the camera. Identify the points a shopper may hesitate over: size, material, quality, function, contents, finish, closure, scent cue, ingredient cue, or packaging claim. Then assign one detail image to each important question.
Riverflow detail work should separate composition from correction. Photoshoots and Images can create close-up proof shots from a chosen scene or visual reference, while Editing is useful when the crop is right but product artwork needs to be corrected. Riverflow 2.0 Reference-Based Super Resolution can agentically find and update artwork in place without altering the rest of the image.
Detail shot rejection notes
Close-up images often fail for subtle reasons. Reject the shot if the crop is so tight that the product is no longer identifiable, if the texture looks exaggerated compared with the real product, if condensation or glare covers important packaging, or if the detail implies a functional claim the product cannot support. For beauty and supplements, also check that ingredient, dosage, shade, SPF, and certification text has not been invented or made more prominent than approved.
If the composition is right and only the artwork is wrong, do not throw away the image. Keep the approved framing and run a targeted product detail repair pass.
Before you publish
Detail photography checklist
- Pick details that directly support a purchase decision.
- Keep the hero detail sharp and leave surrounding areas secondary.
- Show enough of the product to keep the crop understandable.
- Preserve real material, color, label layout, and functional shape.
- Use lighting that reveals texture instead of hiding it in glare.
- Pair detail shots with product-on-white and lifestyle images so the full set feels complete.
Riverflow prompt recipe
Create it in Riverflow
Prompt a detail product shot in Riverflow
Use this structure to turn the strategy into a specific creative brief that keeps the product accurate and the scene useful.
- 1
Detail
Name the exact feature to show, such as pump nozzle, cream texture, zipper pull, embossed logo, woven fabric, or ingredient label.
- 2
Framing
Specify macro, close-up, three-quarter detail, or cropped open-product view. Include whether the full label, cap, applicator, or edge should remain visible.
- 3
Lighting
Describe the light behavior: soft reflection, crisp studio highlight, diffused natural light, wet gloss, matte shadow, or controlled backlight.
- 4
Accuracy
State that product proportions, label placement, material, color, and functional details must stay true to the source product.
- 5
Correction path
If the generated close-up has the right lighting and framing but a product detail is wrong, use Editing to fix the specific artwork or label detail instead of regenerating the whole image.
- 6
Exclusions
Remove distractions such as extra props, unreadable labels, warped packaging, unrealistic liquid, over-sharpened texture, or decorative clutter.
Example prompt
Macro detail shot of a skincare pump nozzle with soft studio highlights, product color and label placement accurate, shallow depth of field, clean premium ecommerce background.
Close-up of woven fabric texture and stitched seam on the product, diagonal crop, natural side light, accurate material grain, no extra props.
Mistakes to avoid
Zooming in without a reason.
Tie every detail image to a shopper question or product claim.
Cropping so tightly that the product becomes unrecognizable.
Leave enough shape, label, edge, or context for orientation.
Letting lighting erase the texture.
Use side light, controlled highlights, or soft shadows to reveal the surface.
Changing the product while making the image more polished.
Check label text, proportions, material, opening mechanism, color, and finish against the source product.
FAQ
How many detail product photos should an ecommerce page include?+
Most product pages benefit from one to three detail shots. Add more when the product has technical features, premium materials, ingredients, texture, or included accessories that shoppers need to inspect.
When is a detail shot unnecessary?+
Skip it when the close-up does not reveal anything that changes shopper confidence. A random crop of packaging edge, shadow, or decorative prop usually adds length to the carousel without adding proof.
Where should detail shots sit in a product image carousel?+
Place them after the primary product-on-white image and one context or scale image. Detail shots work best once the shopper already understands the full product.
Can Riverflow fix details in an otherwise strong close-up?+
Yes. When the composition works but artwork or label detail needs correction, Riverflow 2.0 Reference-Based Super Resolution can update that product detail in place without altering the rest of the image.
Start creating
Get started with on-brand visuals
Turn guide ideas into product-accurate creative in Riverflow, using your brand, products, scenes, styles, and channel crops from the start.